
Article: 8 ways to minimise 'cupping' of your DIY wooden shelves
8 ways to minimise 'cupping' of your DIY wooden shelves
Why does cupping happen?
Cupping is caused by the uneven swelling and contraction of the wood's fibres in response to changes in humidity. Plain sawn lumber from the outer parts of a tree are most vulnerable because the grain runs parallel (tangent) to the growth rings.
Cells towards the 'top' of the growth rings dry fastest and contract, pulling the edges of the plank up to form the cup. This process is continuous as the wood absorbs and releases moisture in response to humidity changes in your room.
While cupping is almost impossible to stop completely, it can be minimised through careful sourcing, construction, treating and aftercare.
Here are 8 tips for straighter DIY wooden shelves:
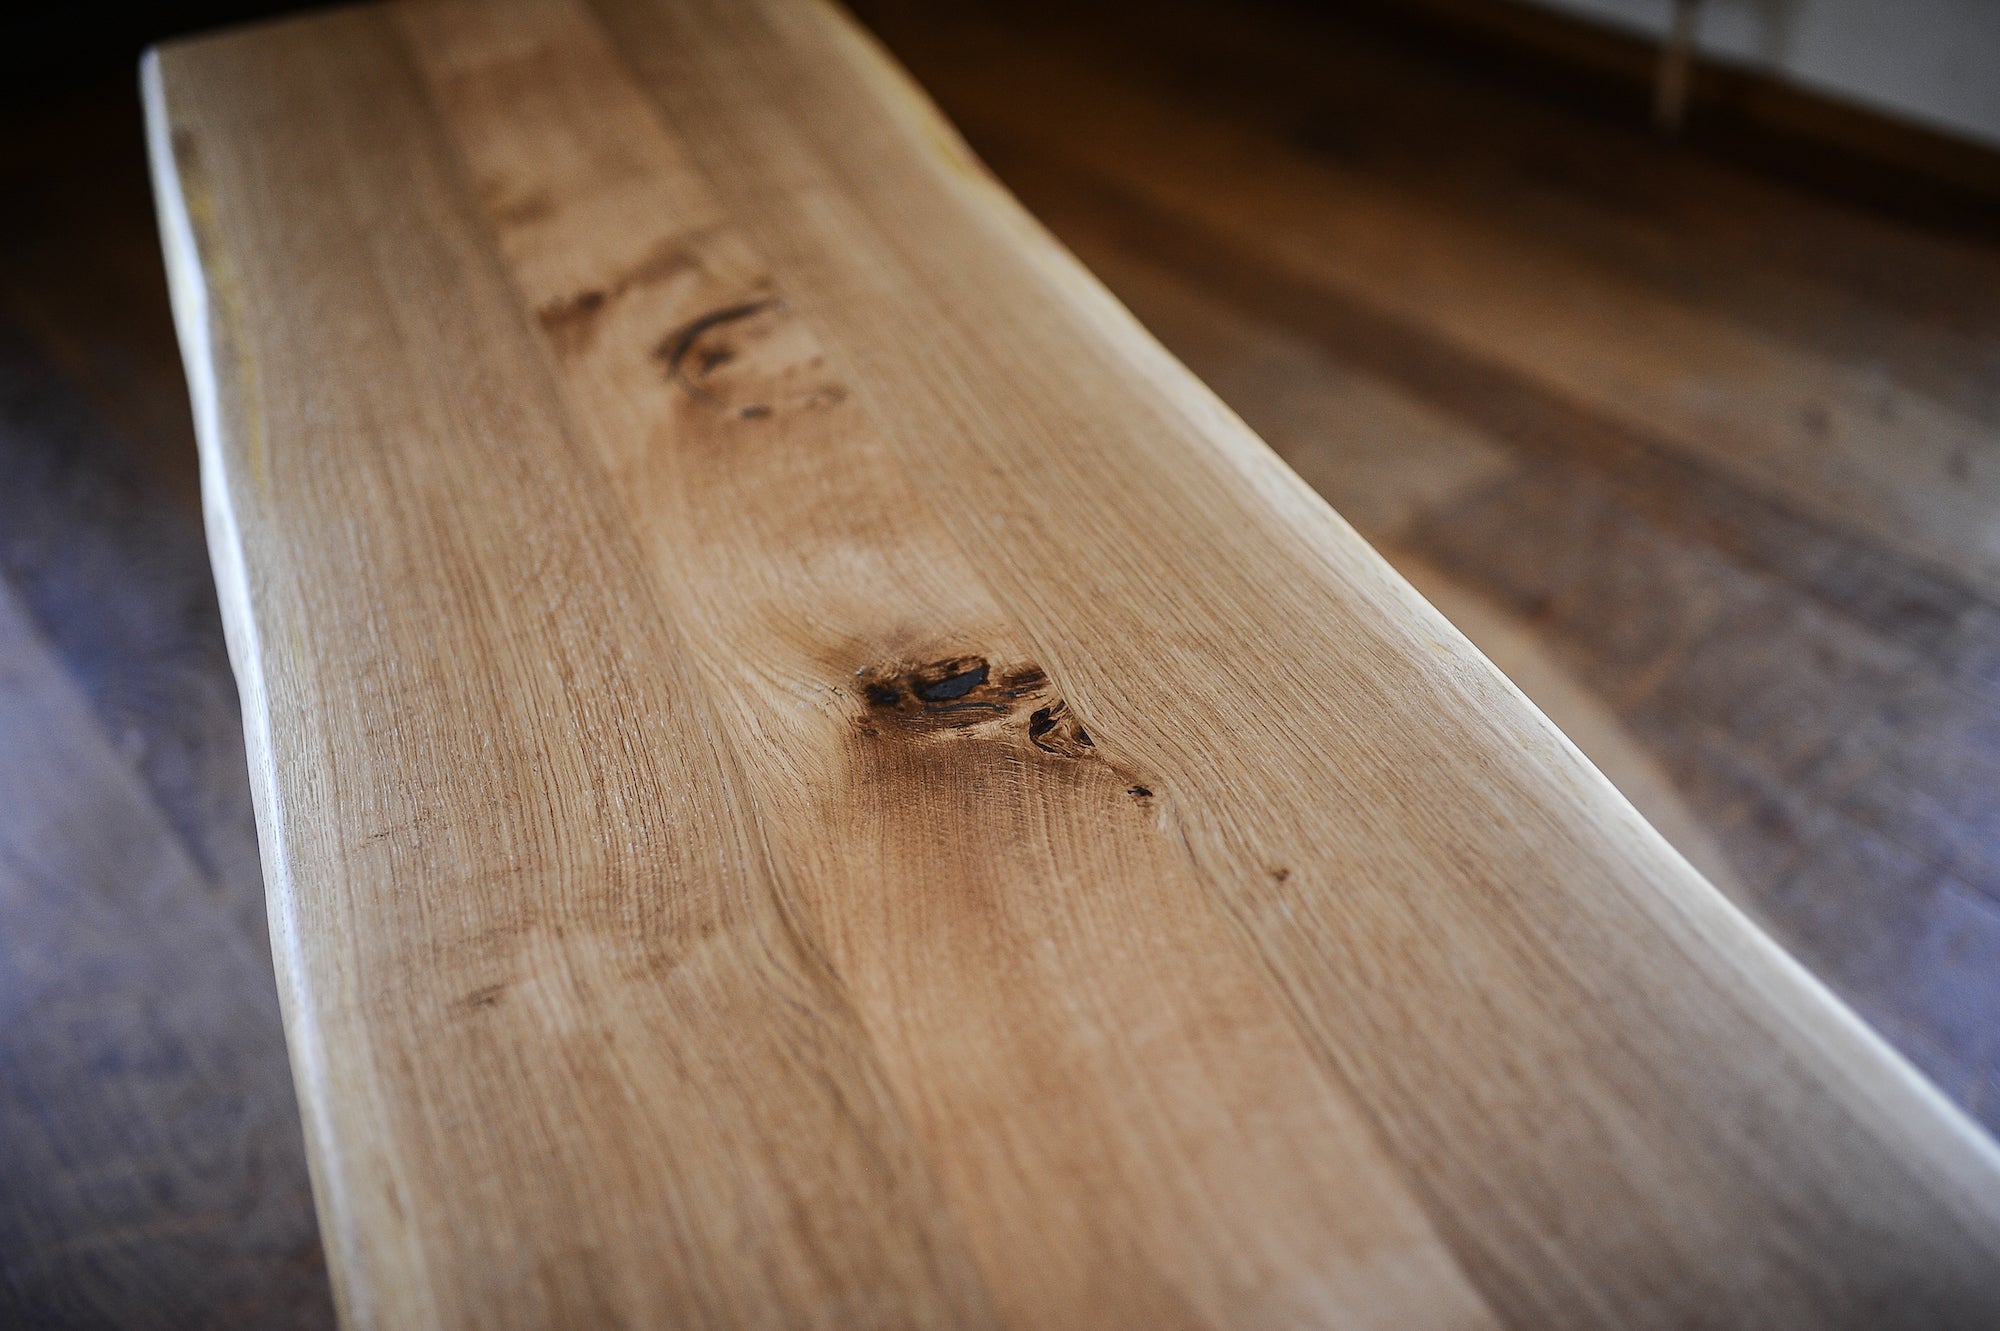
1. Opt for thicker shelves
Although some species of trees are more prone to cupping than others, the thicker you can make your wooden shelves, the less likely they are to bend.
Even a 5cm thick shelf will show some movement, but this will be far more pronounced in a 2cm thick shelf of the same species.
2. Invest in quarter sawn lumber
Quarter sawn lumber is a lot more expensive than plain sawn, but the planks are far less likely to cup. Since the logs are quartered and planks cut along the radial plane, there is far less stress due to differential drying.
A cheaper (but time consuming) alternative is to check the end of individual pieces of plain sawn lumber for vertical grain. These planks will have been taken from near the centre of the tree and will be oriented along the radial plane.
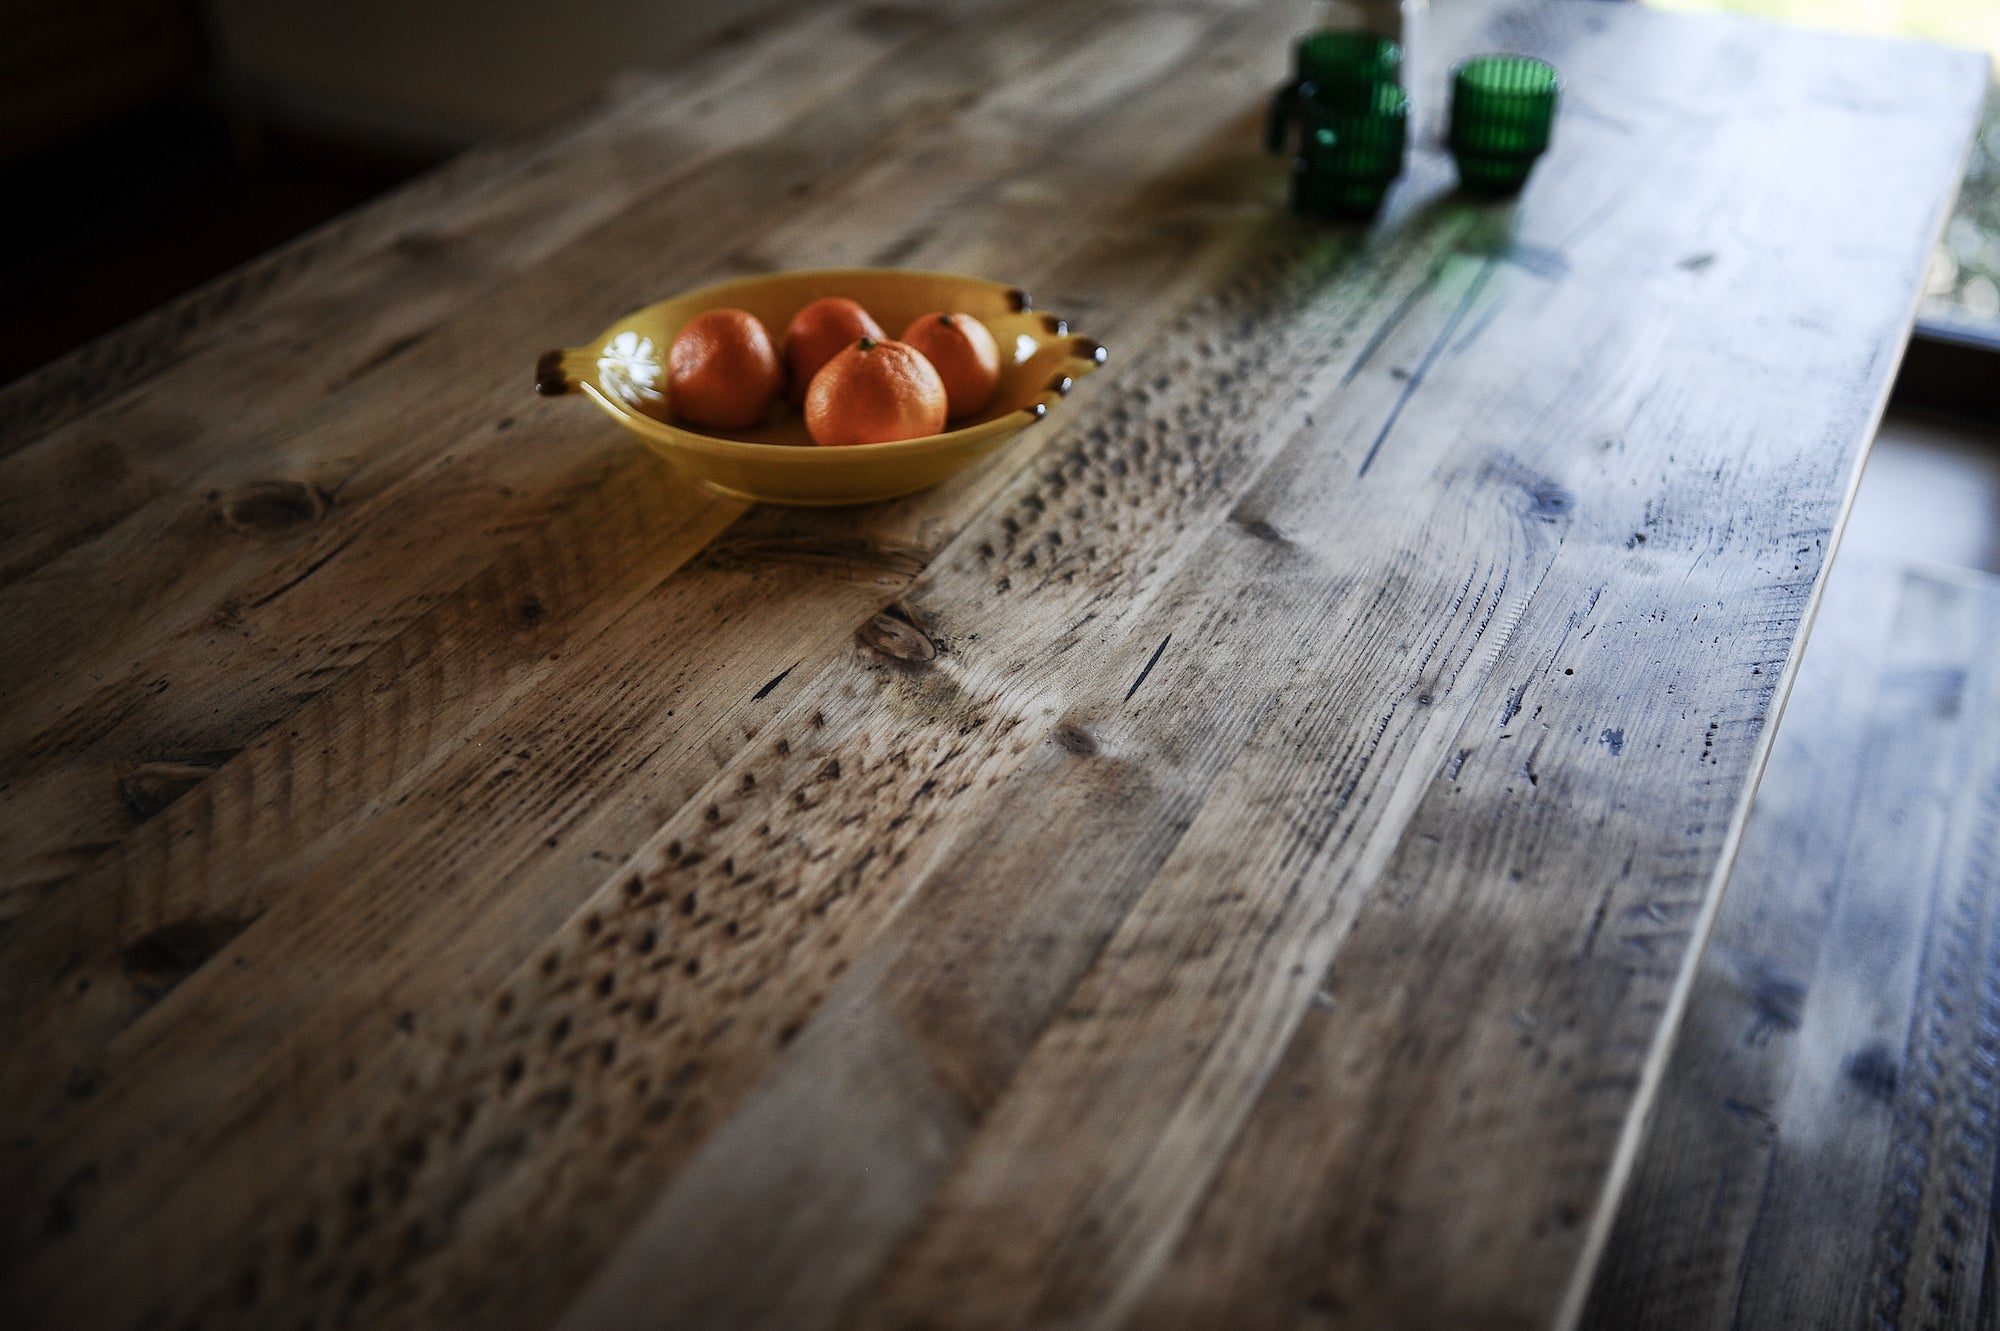
3. Build your wooden shelves from strips
Did you know that table tops are often made of strips of lumber that have been turned around and rejoined to cancel out the forces that lead to cupping?
You can do exactly the same thing with wooden shelves, although this will add considerable time and effort to your project.
4. Choose suitable fittings
While your choice of fittings won't prevent your wooden shelves from moving, they can determine how long your shelves last. Where possible, avoid fittings that prevent wood from expanding and contracting because this will eventually lead to your shelves warping and possibly even splitting. If you are screwing directly into the wood, slots are better than precisely sized holes. Work with your wood, not against it, and your shelves will last a lot longer.
5. Make sure growth rings curve down
If your wood is cut on the tangential plane, you will see a 'smile' on the end grain. Turn that smile into a frown when making your shelves. The weight of objects you put on the shelf will combine to (hopefully) resist the upward 'cupping' forces of the lumber.
6. Treat all sides evenly
Whether you are planing, varnishing or painting your lumber, treat all sides (including both edges) at the same time. If you only treat one side, the differential evaporation and absorption of water will be increased leading to faster and more extreme cupping.
7. Cut grooves to ease stress
Cutting strategic grooves along your planks, in the area where most tangential stress occurs, can minimise the risk of cupping. This will weaken the structure of your shelves, so only use this method if you are confident in your carpentry skills.
8. Keep room humidity constant
If your wooden shelves are flat when in place, keeping the humidity of the room constant should keep them that way. Cupping only occurs with the absorption and evaporation of moisture from wood fibres, so maintaining an equilibrium will all but halt the process.
Have you considered other storage options?
If you are looking to increase storage capacity in your home, shelving (DIY or otherwise) is not the only option. Have you looked at our range of handmade stands and shelving units, for instance? These can be customised to hold an assortment of collectibles and knick-knacks, from books and vinyl to ornaments and silverware.
Leave a comment
This site is protected by hCaptcha and the hCaptcha Privacy Policy and Terms of Service apply.